 Save
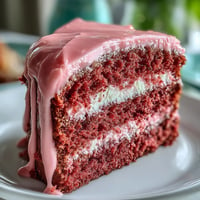
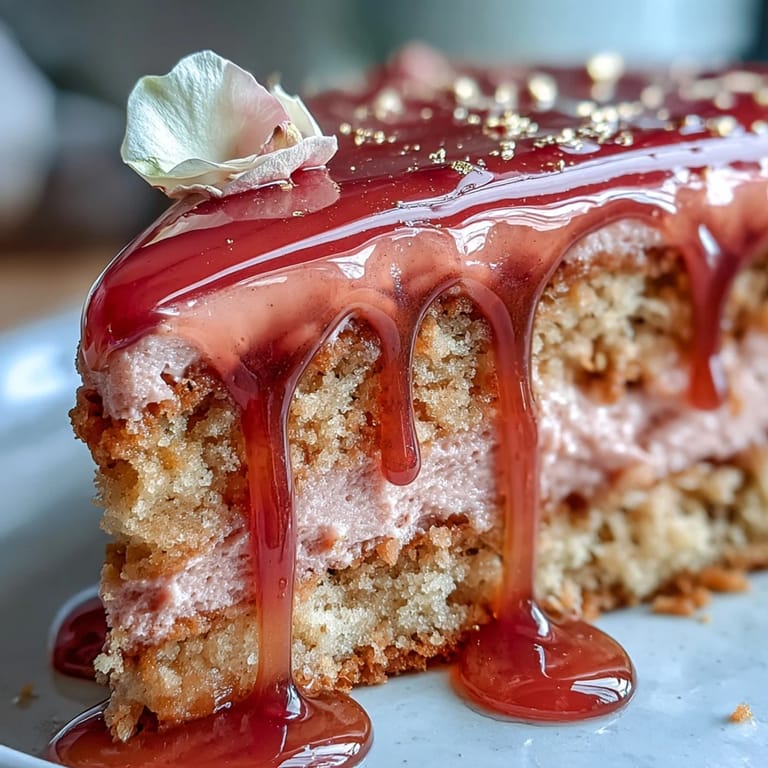
Save Not every celebration calls for something quite so show-stopping, but the first time I tested this Rosé Velvet Cake, the kitchen was filled with soft sunshine and the subtle scent of wine blooming from the batter. A wind rattled my windows and for a moment I wondered if my gold drip would ever look smooth, yet the mess only made the process more memorable. This cake isn’t your average pink dessert—it whispers of summer afternoons, laughter, and a touch of drama on the dessert table. You'll find that the golden shimmer never fails to turn a few heads, and the taste is just as quietly elegant as it looks.
The last time I made this for a friend's bridal shower, laughter bounced around my dining room as we debated whose slice had the longest gold drip. It was a sweet chaos, frosting smudges on napkins and someone sneaking the extra buttercream with a spoon. There was a quiet moment when the bride took her first bite and simply grinned—then asked if pink velvet could replace tradition at her wedding. That's when I knew this cake belonged to celebrations.
Ingredients
- All-purpose flour: Sift this for the softest crumb—a trick from my many failed lumpy cakes in the past.
- Granulated sugar: The fine texture ensures even sweetness; don't skimp or swap brown sugar in this one.
- Baking soda: Just a teaspoon gives lift and tenderness, but overdoing it once led to an unpleasant tang.
- Fine salt: Just enough sharpens the chocolate and floral notes, so don't forget it even if it seems small.
- Cocoa powder (unsweetened): The secret behind that gentle rosy hue—just don't use Dutch process, which muddies the color.
- Vegetable oil: Keeps the cake plush and moist; it’s far superior to butter for achieving a velvety texture here.
- Eggs (room temp): Letting the eggs reach room temperature prevents the batter from curdling, trust me.
- Buttermilk (room temp): Makes the crumb tangy and rich; I sometimes warm it slightly if my kitchen is especially chilly.
- Rosé wine: Choose a dry or sparkling style to avoid excessive sweetness and achieve a subtle floral note.
- Vanilla extract: Imitation won't do—the real thing enriches the whole cake.
- White vinegar: Reacts with baking soda for extra lightness, but add it last so it stays effective.
- Pink or rose gel food coloring: This creates that signature blush; start with a little, stir, and build up as needed.
- Unsalted butter (room temp): Whip until almost white for the fluffiest buttercream possible.
- Powdered sugar (sifted): Sifting eliminates lumps—a step easily skipped but always regretted.
- Heavy cream: Helps the gold drip glide down the cake; don’t substitute milk, which makes the mixture too thin.
- White chocolate chips: Melts better than bars for a consistently smooth drip.
- Edible gold luster dust: Only edible varieties—non-edible powders don’t belong on your cake.
- Vodka or clear lemon extract: This is just for thinning the luster dust paint, and the alcohol evaporates quickly.
- Edible gold accents, rose petals, or berries (optional): For an extra flourish if you're feeling fancy.
Tired of Takeout? 🥡
Get 10 meals you can make faster than delivery arrives. Seriously.
One email. No spam. Unsubscribe anytime.
Instructions
- Prep the pans:
- There's something satisfying about lining pans so the cakes pop out effortlessly—don't rush this step, or you'll regret it when unmolding.
- Combine dry ingredients:
- Whisk together flour, sugar, baking soda, salt, and cocoa until velvety and even, inhaling the gentle cocoa aroma as you break up clumps.
- Mix the wet:
- Beat oil, eggs, buttermilk, rosé, vanilla, and vinegar together until blend is pale and glossy—use a big bowl, as excitement tends to splash!
- Bring it all together:
- Pour the wet into the dry and gently mix until just combined, folding in the pink food gel until it blushes to your liking.
- Bake the layers:
- Divide batter among pans, smooth tops, and bake; the scent will start to drift through your kitchen just before they’re done.
- Cool completely:
- Let the cakes sit in pans for a brief pause, then turn onto racks and allow them to cool—this waiting is the hardest part.
- Make the buttercream:
- Whip butter until almost white, then shower in powdered sugar, followed by rosé and vanilla, beating until it looks cloudlike and airy.
- Frost and stack:
- Level cakes, stack with generous buttercream, and smooth a crumb coat; chill to lock in crumbs, then finish with a swoop of frosting.
- Prepare the gold drip:
- Melt white chocolate and cream until silky, let it cool, then test a drip on the side of a bowl before pouring over the cake edge.
- Paint the gold:
- Mix luster dust with vodka or lemon extract and paint over the drips—don’t worry about perfection, each drip has its own flair.
- Final decorations:
- Add edible gold, rose petals, or a handful of fresh berries for extra sparkle—this is the moment to play.
 Save
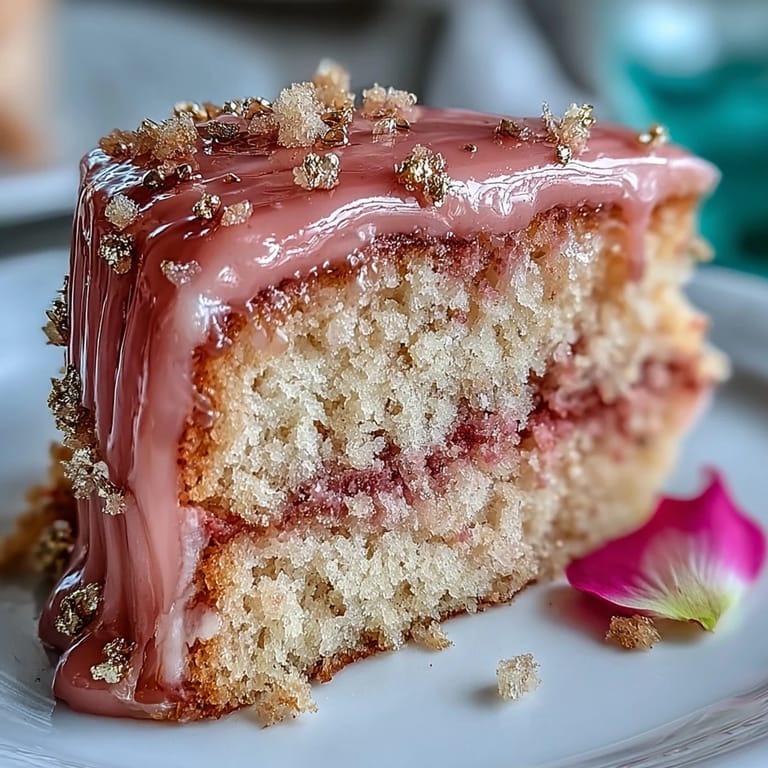
Save There was a quiet satisfaction when I set this cake on the table, the gold catching the early evening light and everyone pausing for a beat. For a moment, it felt less like dessert and more like the centerpiece of a memory.
How to Get the Perfect Gold Drip
The secret I've found is to let the white chocolate mixture cool for exactly ten minutes—long enough so it doesn’t melt the buttercream, but still fluid enough to drip elegantly. If it thickens too much, fifteen seconds in the microwave and a brisk stir brings it back. I always mix the luster dust and vodka at the last second for the brightest shine; if left sitting, it dulls. The brush you use matters too—soft bristles keep the finish smooth and flawless.
Making It Ahead for Stress-Free Entertaining
I learned the hard way not to rush the assembly—baking the layers and whipping the frosting a day ahead lets the flavors settle and the buttercream become pillowy. Stored in the fridge and brought to room temperature later, the cake actually slices cleaner. If you’re decorating at the last minute, do the gold drip when the cake feels cool but not ice cold, so nothing cracks. Any leftover cake is a delightful surprise for breakfast the next morning.
Decorating Tricks That Wow
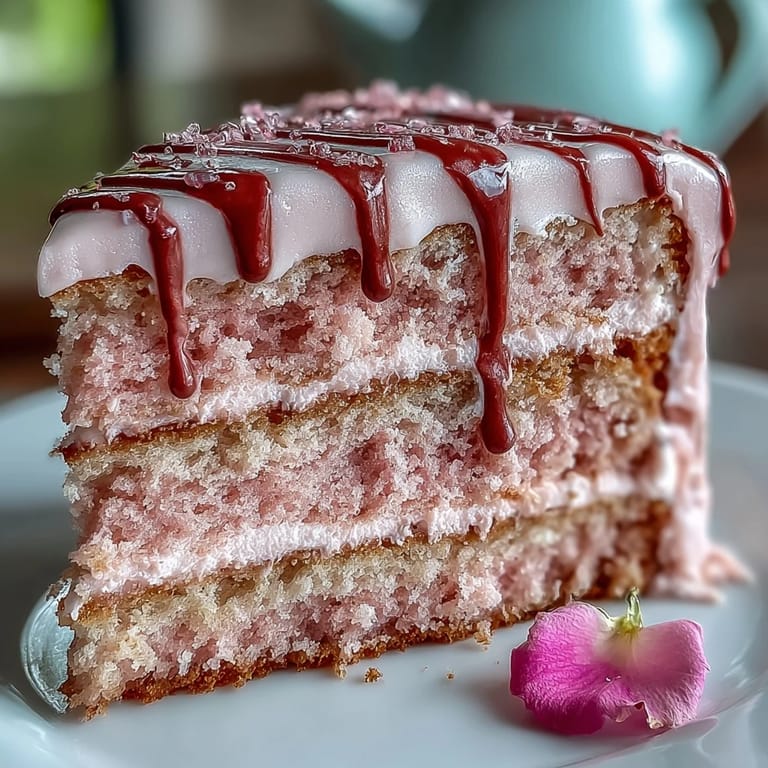
Once, on a whim, I pressed a few edible flowers against the final frosting coat—they clung as if made for the occasion. I’ve since discovered that gold leaf, fresh berries, and candied rose petals each bring their own kind of magic, so keep an open mind and a steady hand when you decorate. Most importantly, celebrate the little imperfections: a slightly asymmetrical drip or a smear of frosting only tells your story more honestly.
- Chill the cake briefly before painting gold for crisp lines.
- If piping buttercream details, use a star tip for swirls that look instantly festive.
- Wipe your brush clean with vodka between gold applications to keep the shine bright.
 Save
Save This cake has a way of stealing the show, but it’s easiest to enjoy when shared. Here’s to golden moments and a little rosé in your dessert (and your glass).
Questions & Answers
- → Can I omit the alcohol without losing flavor?
Yes — substitute rosé with equal parts nonalcoholic sparkling rosé, white grape juice, or additional buttermilk. You’ll retain moisture and a mild fruit note while keeping the batter balanced.
- → How do I prevent a soggy crumb when adding the buttercream?
Ensure cakes are completely cool before stacking. Apply a thin crumb coat and chill for 20–30 minutes to set before the final frosting layer; this traps crumbs and gives a smooth finish.
- → What’s the best way to get an even gold drip?
Cool the white chocolate drip until slightly thickened but still pourable, then drizzle from the edge with a spoon or squeeze bottle. Let it set, then mix luster dust with a clear food-safe extract and paint details gently with a thin food brush.
- → Which rosé works best for flavor?
Choose a dry or off-dry rosé with light berry and floral notes; a sparkling rosé adds brightness. Avoid overly tannic or heavily oaked bottles to keep the cake’s delicate profile.
- → How far in advance can it be made and stored?
Assemble and chill the cake up to one day ahead. Store covered in the refrigerator and bring to room temperature about 1 hour before serving for best texture and flavor.
- → Are there safety tips for using edible gold luster?
Only use products labeled edible. Mix luster dust with a food-safe clear spirit or extract for painting; avoid non-edible metallic paints and always check manufacturer guidance.