 Save
Save The way that glossy black fondant hair catches the kitchen light always makes me smile. I first attempted this showstopper for my best friend's retro themed birthday party, staying up until midnight tweaking the eyelashes just so. Now whenever red food coloring stains my fingertips, I'm transported back to that jittery excited night of transforming basic cake layers into something truly cartoon magical.
Last Christmas my niece walked into the kitchen and literally gasped when she saw the finished cake sitting on the counter. She kept circling around it whispering its Betty Boop like she'd met a celebrity. That moment of pure childish joy over a decorated cake reminded me exactly why I started baking in the first place.
Ingredients
- all purpose flour: The backbone structure that keeps those tender red layers from collapsing under all that fondant
- red gel food coloring: Gel gives you that deep cartoon red without watering down your batter like liquid dyes do
- cream cheese: Room temperature is non negotiable here or you'll end up with lumpy buttercream and tears
- black fondant: Knead it thoroughly before rolling or you'll get stubborn cracks that ruin that sleek hair silhouette
- white fondant: Roll these eyes slightly thicker than you think you need so they don't tear when you position them
- red fondant: Keep this covered with a damp paper towel while working since it dries out faster than the darker colors
Tired of Takeout? 🥡
Get 10 meals you can make faster than delivery arrives. Seriously.
One email. No spam. Unsubscribe anytime.
Instructions
- Prep your pans and preheat:
- Line those 8 inch rounds with parchment and grease them thoroughly because red velvet loves to stick
- Whisk the dry team:
- Combine flour baking powder and salt in a medium bowl then set it aside while you tackle the wet ingredients
- Cream butter and sugar:
- Beat them for the full 3 minutes until the mixture turns pale and fluffy like a cloud this creates the tender crumb texture
- Add eggs one at a time:
- Don't rush this step each egg needs to fully incorporate before the next one joins the party
- Alternate wet and dry:
- Add flour mixture and milk in three additions starting and ending with flour while keeping the mixer on low speed
- Make it red:
- Mix in that gel coloring until the batter looks like something Betty Boop herself would wear
- Bake and rotate:
- Divide evenly between pans and bake 25 to 30 minutes spinning them halfway through for even rising
- Cool completely:
- Let them rest 10 minutes in the pans then flip onto racks to cool all the way through before frosting
- Make the buttercream:
- Beat room temperature cream cheese and butter until smooth then gradually incorporate that sifted powdered sugar
- Stack and crumb coat:
- Level those domes with a serrated knife then layer with buttercream and apply a thin crumb coat before chilling
- Final frost and smooth:
- Add that final coat of buttercream and use a bench scraper to get those sides perfectly straight and smooth
- Create the hair:
- Roll black fondant and cut Betty's signature silhouette using a template or freehand with a sharp knife
- Form the face:
- Roll white circles for eyes and shape those iconic red lips adding tiny heart highlights for extra personality
- Apply decorations:
- Position the hair on the chilled cake front then attach facial features with tiny dabs of buttercream like edible glue
 Save
Save My sister still talks about the year I made this for her daughter's 16th birthday. The teenage guests were all taking selfies with it before they even cut into the cake. Something about seeing a familiar cartoon face rendered in cake and frosting just makes people light up in the most unexpected way.
Working With Black Fondant
Black fondant can be unforgiving since it shows every fingerprint and dust particle. Keep your work surface impeccably clean and dusted with cornstarch not powdered sugar which can leave white specks on the dark surface.
Getting Those Eyes Right
The eyes are what makes Betty instantly recognizable so take your time sizing them. I hold my fondant cutter up to the cake front before cutting to ensure the proportions will work with the hair silhouette.
Make Ahead Strategy
You can prepare all fondant decorations up to three days in advance. Store them flat between sheets of parchment paper in an airtight container at room temperature.
- Wrap leftover fondant scraps tightly in plastic wrap then seal in a zip top bag
- Never refrigerate fondant as the condensation will make it sticky and unworkable
- Practice Betty's silhouette on paper first if you're nervous about freehand cutting
 Save
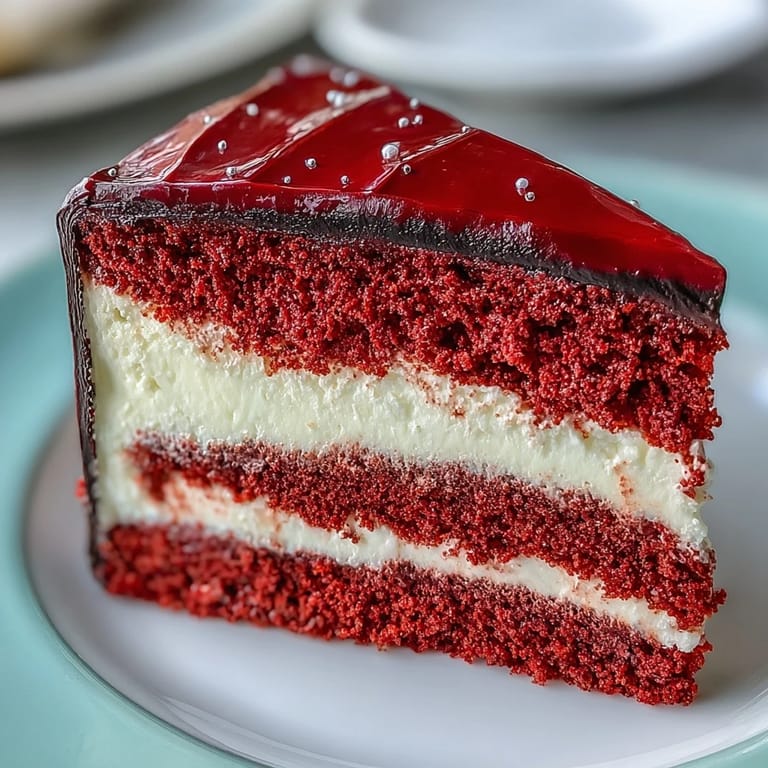
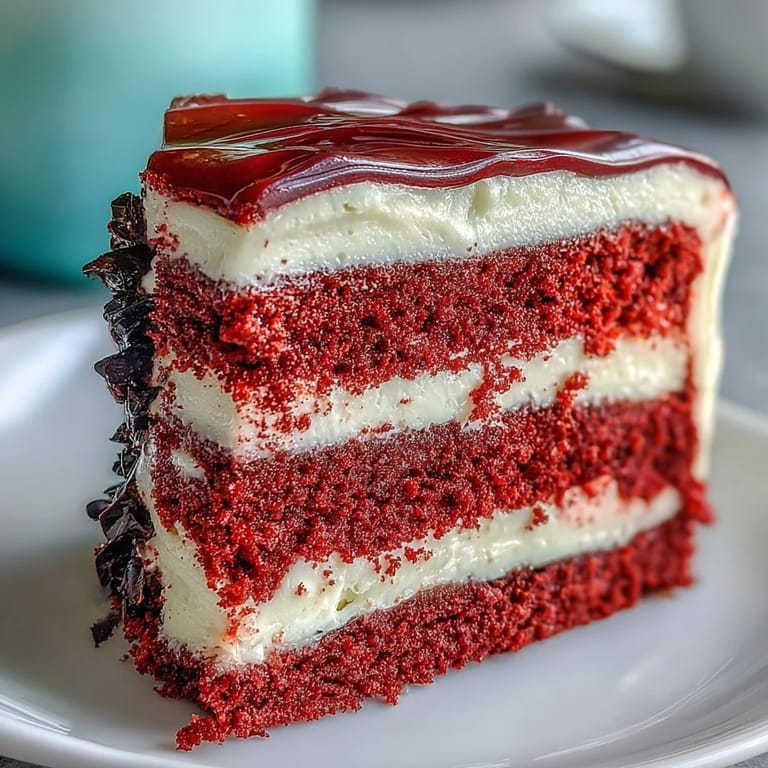
Save There's something deeply satisfying about serving a slice of that dramatically red velvet next to a piece of that glossy black fondant. Watch your guests faces when they cut in that contrast never gets old.
Questions & Answers
- → How far in advance can I make the fondant decorations?
Prepare fondant pieces up to one day ahead and store in an airtight container at room temperature. Keep them flat and separated with parchment paper to prevent sticking or deformation.
- → Can I make this without red food coloring?
Substitute with beet juice or powder for natural color, though the shade will be more burgundy than bright red. Alternatively, skip the coloring entirely for a classic vanilla cake with the same creamy buttercream.
- → What's the best way to store the finished creation?
Keep refrigerated in a cake box or covered container for up to 4 days. Bring to room temperature for 30 minutes before serving to allow the frosting to soften and the crumb to become tender again.
- → Is there a simpler decorating alternative to fondant?
Use piped buttercream to create the face features. Black buttercream works for hair, white for eyes, and red for lips. This method requires less specialty equipment while still delivering recognizable character details.
- → Can I freeze the unfilled layers?
Wrap cooled layers tightly in plastic wrap and freeze for up to 3 months. Thaw overnight in the refrigerator before frosting and decorating. This helps manage time when preparing for large events.
- → What if my layers dome too much during baking?
Trim the domed tops with a serrated knife for flat stacking. Use the trimmings for cake pops or crumble over ice cream. Wrapping cake pans with cake strips also promotes even baking and level layers.