 Save
Save My mom's kitchen always smelled like vanilla and butter in December, and these sugar cookies were the reason why. She'd let me stand on a step stool to help cream the butter and sugar, watching it transform from grainy to pale and fluffy—a small magic that made me feel like I was doing something important. Years later, I make them the same way, and that same smell still takes me back to being seven years old, cookie cutters scattered across the counter, flour in my hair.
I brought a box of these to my neighbor's holiday party last year, and they disappeared within the first twenty minutes. Someone asked for the recipe, then someone else, and I realized these simple butter cookies had become the thing people actually looked for instead of just politely eating. That's when I knew they were worth perfecting.
Ingredients
- Unsalted butter (226 g): Use real butter, softened to room temperature—this is where the flavor lives, and skipping quality here is where most recipes stumble.
- Granulated sugar (200 g): This creates the right sweetness without overpowering the vanilla, and creaming it well with the butter is what makes them tender instead of dense.
- Large egg: One egg binds everything and adds richness, but don't add extra or you'll end up with cakey cookies instead of the delicate texture we're after.
- Pure vanilla extract (1½ teaspoons): This is the quiet hero—use real vanilla, not imitation, and you'll taste the difference.
- All-purpose flour (345 g): Measure by spooning flour into the cup and leveling off, or weigh it if you have a scale, because scooping directly creates too much flour and dry cookies.
- Baking powder (½ teaspoon): Just enough to give them a subtle lift without making them rise and crack.
- Salt (½ teaspoon): Don't skip this—it balances the sweetness and makes the vanilla sing.
Tired of Takeout? 🥡
Get 10 meals you can make faster than delivery arrives. Seriously.
One email. No spam. Unsubscribe anytime.
Instructions
- Cream the butter and sugar:
- Beat them together until the mixture looks pale, fluffy, and almost like frosting—this takes about 2-3 minutes and is the most important step because air gets beaten into the dough, giving cookies their tender crumb. Stop and scrape down the bowl halfway through so everything gets properly incorporated.
- Add the egg and vanilla:
- Pour them in and beat until you don't see any streaks of egg white anymore. This should take about a minute.
- Combine the dry ingredients:
- In another bowl, whisk the flour, baking powder, and salt together so the leavening distributes evenly. This prevents pockets of dry flour or baking powder in the finished cookies.
- Bring it together:
- Add the dry mixture to the wet ingredients and mix just until a soft dough forms—the moment you don't see any white streaks, stop. Overmixing develops gluten and makes cookies tough instead of tender.
- Chill the dough:
- Flatten each half into a disk, wrap it up, and let it rest in the fridge for at least an hour—this makes the dough less sticky and the cookies hold their shape better in the oven. Cold dough is your friend here.
- Roll and cut:
- Let the chilled dough sit at room temperature for a few minutes so it's not rock hard, then roll it out between two sheets of parchment paper to ¼-inch thickness. This prevents sticking and keeps the thickness consistent.
- Bake:
- Set the oven to 350°F and bake for 8-10 minutes—they're done when the edges just barely start to turn golden but the centers still look slightly underbaked. They'll firm up as they cool, and this is what keeps them tender.
- Cool properly:
- Let them sit on the hot baking sheet for 5 minutes so they set without breaking, then transfer to a wire rack to cool completely before decorating.
 Save
Save My sister once frosted these cookies with her daughter while we all watched a terrible holiday movie, and the kitchen filled with so much laughter and colored icing that the cookies became almost secondary to the moment. That's when I realized these aren't really about the recipe at all—they're an excuse to do something creative with someone you love.
Flavor Variations That Work
I've added ½ teaspoon of almond extract to half a batch and felt like I'd discovered something completely new, even though I hadn't. Lemon zest brightens everything if you're making these in spring instead of winter, and a tiny pinch of nutmeg is so subtle that people can't identify what tastes different, only that it tastes special.
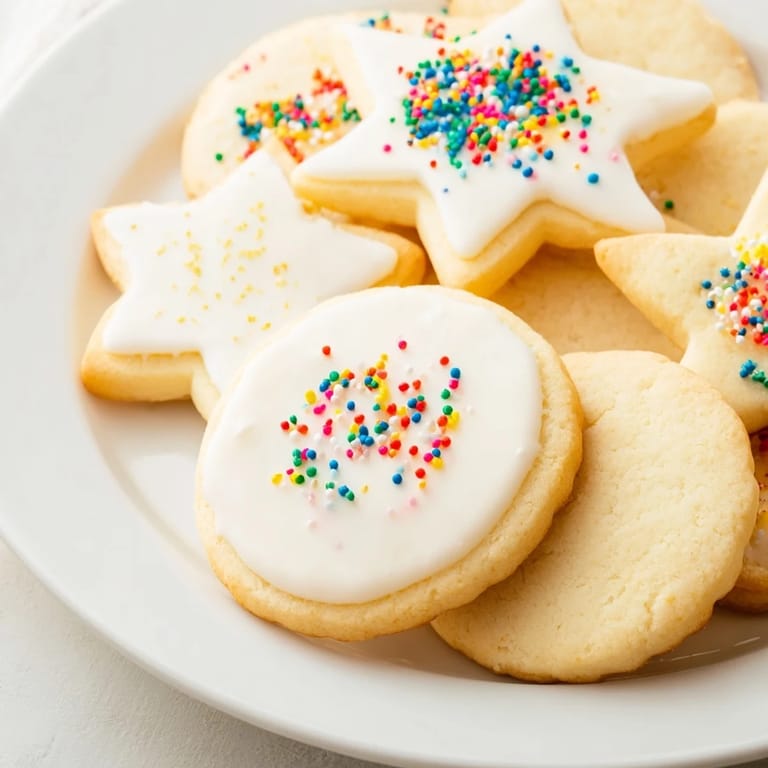
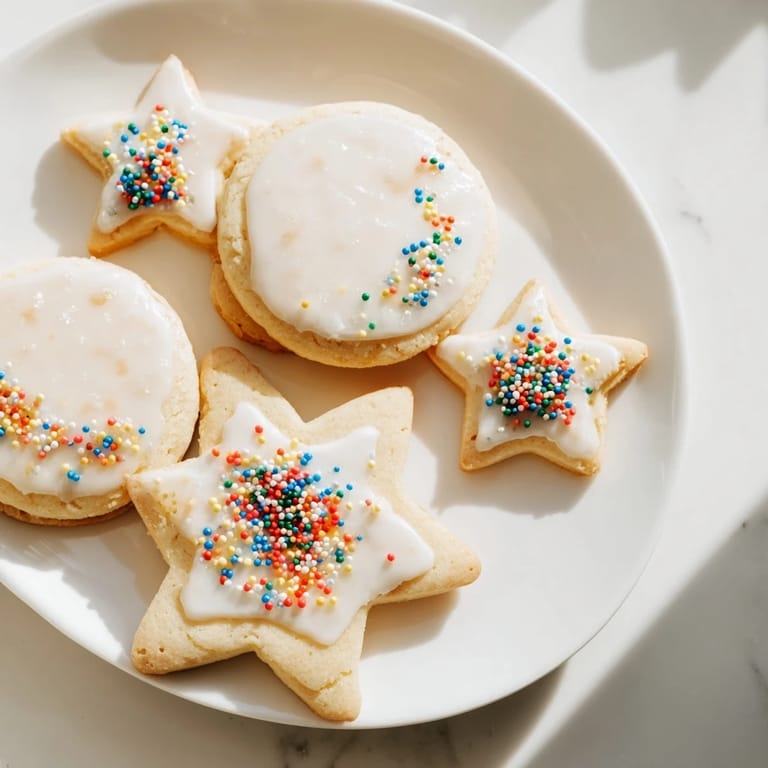
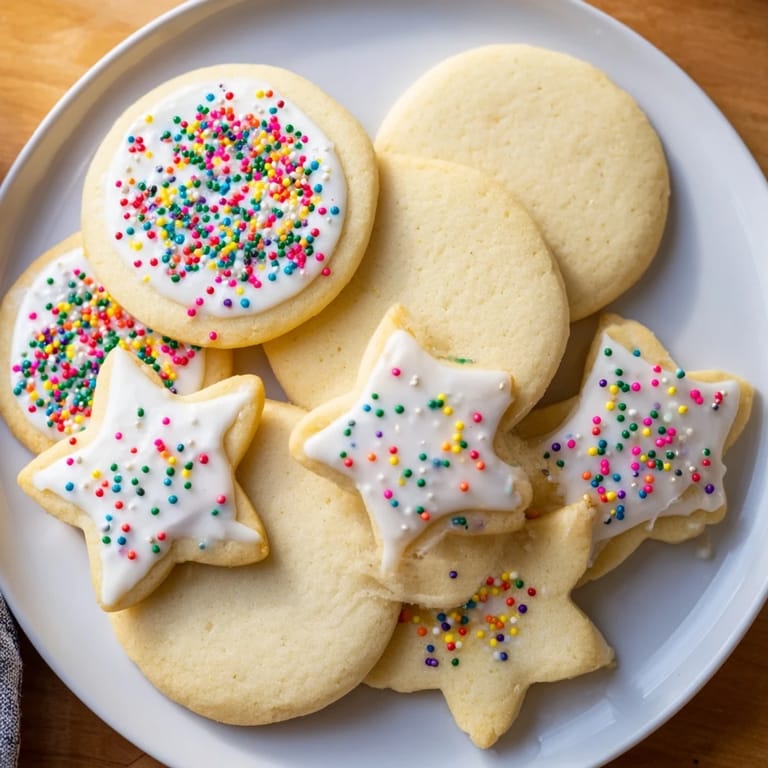
Decorating Ideas That Actually Look Good
Royal icing is the classic move and worth learning because it hardens to a beautiful finish, but honestly, you can just dust them with coarse sugar while the cookies are still slightly warm, and they'll look beautiful without the extra effort. I've also brushed on melted white chocolate and added pearl sprinkles, and the result felt fancy without any real skill required.
Storage and Make-Ahead Magic
The dough keeps in the fridge for three days without any loss of quality, and it actually freezes beautifully for up to two months, which means you can roll out and decorate one batch tonight and another next week without starting from scratch. Baked cookies keep in an airtight container for about five days, and they somehow taste better on day two when the flavors have had time to settle.
- Freeze dough disks individually so you can thaw and roll one whenever the craving hits.
- If cookies get stale, stack them with a slice of bread in the container and they'll soften back up overnight.
- Decorated cookies dry faster in a cool, dry place rather than near a window in the sun.
 Save
Save These cookies are simple because they're meant to be made without stress, decorated with care, and shared with whoever needs something warm and sweet. Make them, and let them become part of your own kitchen memory.
Questions & Answers
- → How do I achieve crisp edges on these cookies?
Bake the cookies just until the edges begin to turn golden. For extra crispiness, leave them in the oven a minute longer but watch carefully to prevent burning.
- → Can I prepare the dough in advance?
Yes, the dough can be refrigerated for up to 3 days or frozen for up to 2 months to save time before baking.
- → What are good decorating options for these cookies?
Use royal icing, colored sugars, or sprinkles to decorate once the cookies have cooled completely.
- → How should I roll out the dough for best results?
Roll the chilled dough to about ¼-inch thickness on a lightly floured surface before cutting into shapes.
- → Are there flavor variations to try?
Yes, adding almond extract or lemon zest can provide a pleasant twist to the classic buttery flavor.